
Carp fishing can be a very enjoyable and rewarding sport, but to the complete novice, setting up a carp rod can be somewhat bewildering. This guide will take you through the simplest way of setting up your carp rod so that you become ready to get started with confidence.
1. Choosing the Right Rod and Reel
Naturally, it’s always nice to use the right rod and reel combo to start carp fishing. If you are going to do fishing in small lakes or ponds as a beginning angler, and thus a 10-feet carp rod is suitable for you. The length is easier to handle and to cast, and more fit to smaller ponds and lakes. Long casts in large lakes are indeed handy with 12-foot rods, but for you, a little cumbersome too.
Match your rod with an appropriate carp reel. A good general-purpose reel is one filled with a 12-pound monofilament line. This line strength is versatile, offering adequate strength for most beginning fishing scenarios involving carp, yet not being too awkward or cumbersome to deal with. If you go fishing in areas with bigger fishes or places where snags and weeds are expected, you might consider using a heavier line such as a 15- or 20-pound test. But for most beginners, a 12-pound line is just the right balance of easiness and performance.
2. Assembling Your Carp Rod
First, remove any of the protective covers your rod may be sporting: tip safes and assemble the pieces. Line up the eyes of the rod, making them straight to each other. Proper alignment is very important for the eyes of rods since smooth casting requires this. Lining eyes up poorly can create snagging in your line, leading to a poor cast.
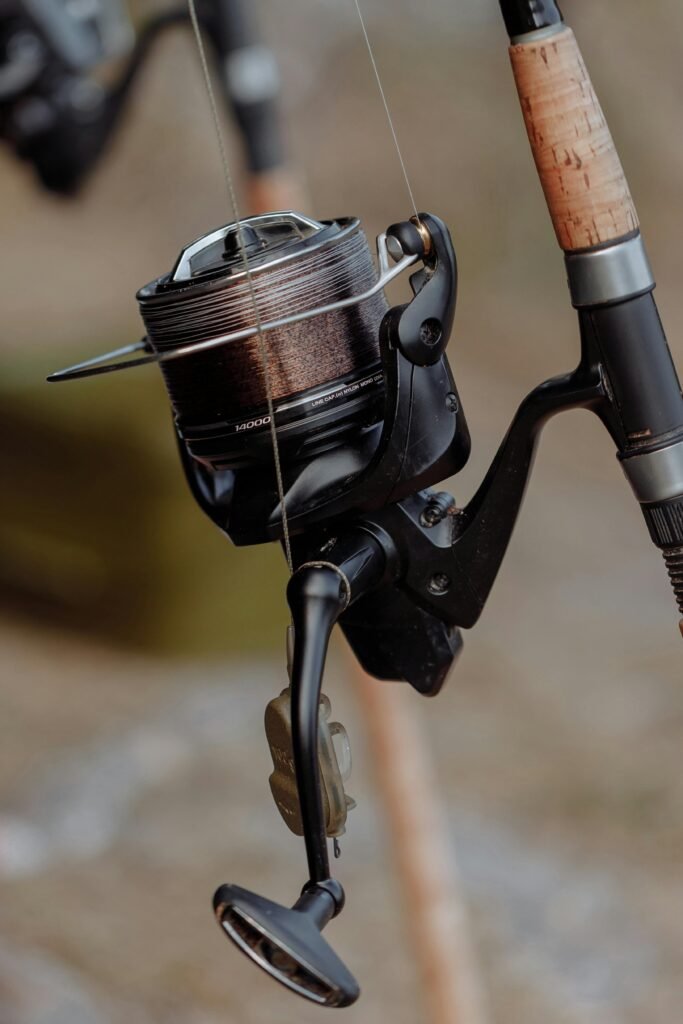
To attach the reel, unscrew the reel seat on the rod and place the reel foot into the seat before screwing it up firmly. It should not wobble at all. A secure attachment is critical because this ensures smooth retrieval and casting without the risk of the reel detaching during use.
3. Threading the Line
With your reel attached, the next step in this direction will be to thread the line through the eyes of the rod. You will open the bail arm of your reel, releasing the line to start threading from the bottom eye, nearest the reel, upwards through each subsequent eye on the rod. Be careful not to miss any eyes or wrap the line around the rod, as it damages the ability to cast and causes tangles.
Once the line has passed through all of the eyes, allow the bail arm to shut and therefore lock the line in place. This subsequently ensures the smooth running of your line through the eyes during the casting and retrieval, hence minimizing tangles and improving fishing experiences altogether.
4. Setting Up the Rig
The rig is what goes onto the end of your line and holds the bait that attracts the carp. One of the easiest and most effective rigs for the amateur angler to use is the lead clip system. This is a widely accepted set up in many fisheries, and you can adjust the weight of your lead with ease according to your needs.
A typical lead clip action pack would include all of the components that you may want to set your rig, including rig tubing, tail rubbers, lead clips, and swivels. Begin by threading about a foot length of rig tubing onto your line. This tubing reduces tangles and protects the fish in the process by keeping the line away from their fins.
Next, thread a tail rubber and a lead clip onto your line, then attach a swivel with something like a blood knot or a uni knot. Don’t forget to moisten the knot as you pull it tight, so you don’t weaken the line. Connect the swivel to the lead clip and then fix a lead weight. A 1.5-ounce lead is ideal for short to medium casts and has enough weight for the bait presentation to work well but is light enough to let one know when the line is hit.
5. Attaching the Bait
The best option for a beginner will be a ready-tied rig. They are more reliable and much easier to use, thus saving lots of time. Some common types of rigs are hair rigs, which are rather versatile and can be adapted to many different baits. To attach your bait, say a bodily or some fake sweetcorn, you will have to get a baiting needle. Thread the bait onto the needle, then pass the loop of the rig hair over the needle’s eye. Afterward, you can slide the bait onto the rig hair. If you think the bait might move around when you cast, you can secure it using a bait stop.

6. Final Preparations and Casting
Before casting a line, consider adding to your rig a PVA bag full of pellets or crushed boilies. This PVA bag will dissolve in the water, releasing bait around your hook, which really helps to attract carp to your hook bait more effectively. Attach the PVA bag onto your rig with the hook, ensuring it does not fall off at the time of casting.
Once you think you are ready to cast, hold the line under your finger to open the bail arm and swing it behind you. Once aligned with your target area, release the line as you cast forward. For short distances, a soft flick would do the job, but for longer casts, one would need to put more force in by pulling back with one arm and pushing forward with the other.
Immediately after casting, lay the rod tip just below the water surface and pull lightly on the line to begin its descent. This is important in that it eliminates the possibility of that line floating on the water’s surface where wind and drag can work to pull your bait presentation out of kilter.
7. Setting Up the Bite Alarm and Bobbin
To monitor bites, rest your rod on a rod rest or bank sticks and fit a bite alarm if you have one. A bite alarm isn’t necessary for a beginner but can be useful if you are going to fish in the dark. To add to the bite detection, you will want to fit a bobbin to your line. The bobbin will show whether a fish takes your bait and swims toward you-namely when the bobbin drops or swims away from you-namely when it rises.
Now set your reel to a bait runner where the fish can take line without pulling your rod into the water. With everything thus set, sit back, relax, and await that screaming run of a carp on the line.
Conclusion
Setting up a carp rod can be very daunting in the first stages, but if guided through the right steps, it is not such a big deal. From the selection of proper gear to assembling your rod and reel, threading of the line, and a simple effective rig setup-you’re good to go for successful carp fishing sessions. Happy fishing!
Related Posts

How to Catch and Release Big Carp Fish
A Step by Step Guide to Cast Fishing More Accurately