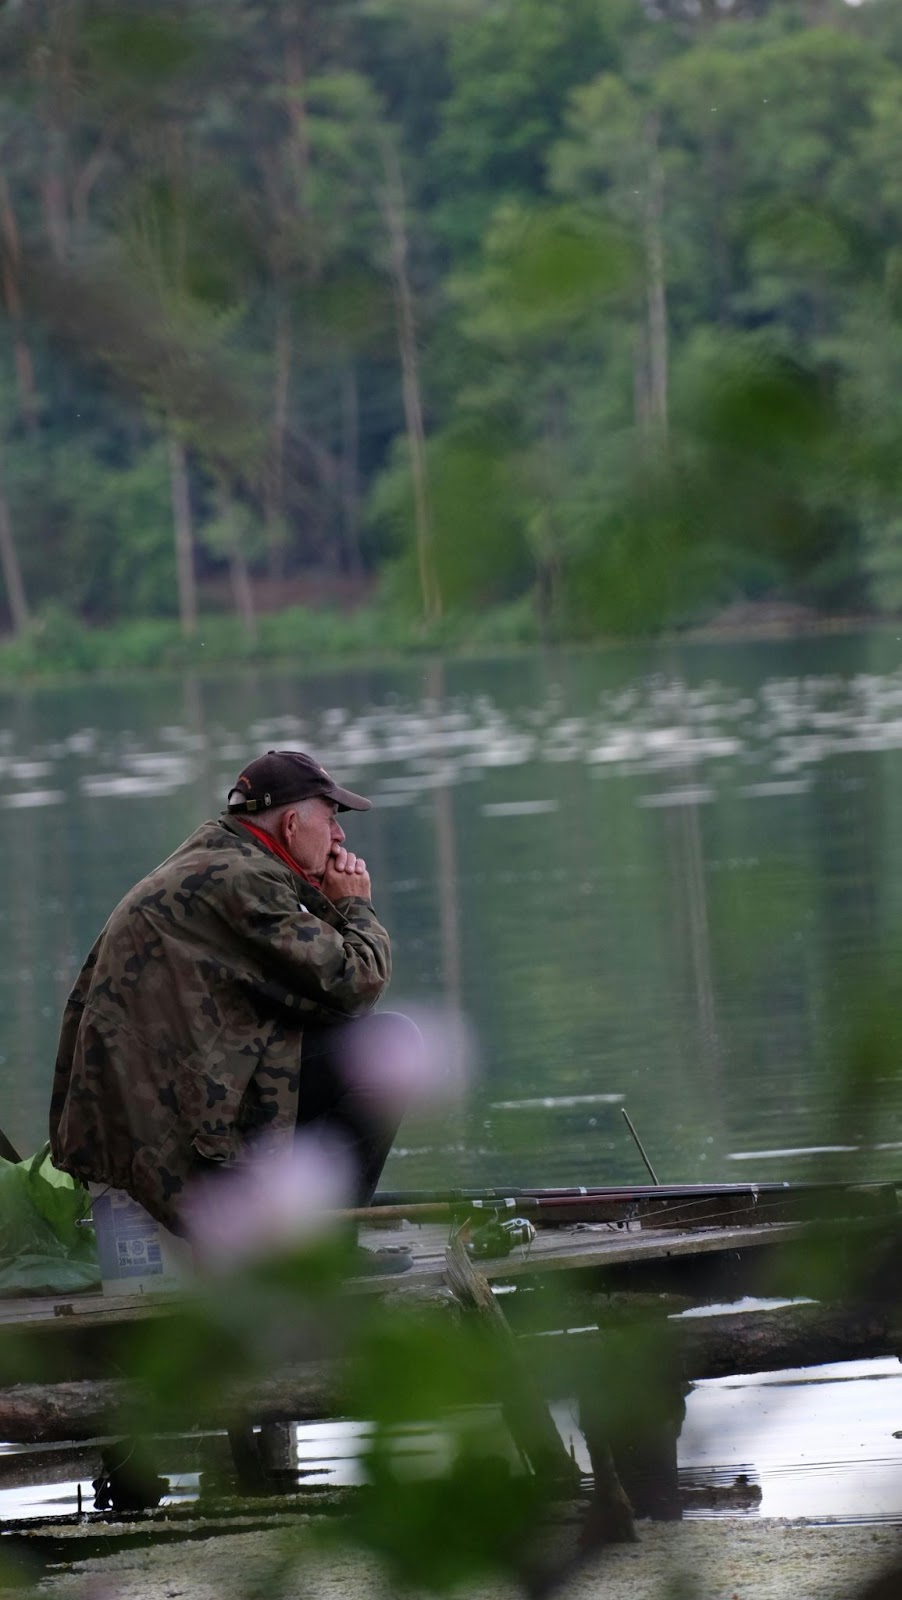
Float fishing is a dynamic, rewarding way of angling that requires skill, patience, and technique together. Whether one is a novice who just started learning how to fish or a seasoned angler who desires to fine-tune his skills, mastery in the art of float fishing will surely open a whole world of opportunities on the water. Herein, we are going to show how to set up a float fishing rig, what equipment to use, and how to use it in various techniques to develop your style.
Introduction to Float Fishing
Then again, float fishing is a very popular way of fishing, especially on still waters-like lakes, ponds, and slow-moving rivers. The core idea is simple float attached to your line provides a visual indicator of bites, together with the means of setting the depth at which your bait travels. The whole point of reading the float’s movement allows you to target fish at all depths effectively and catch them successfully.
This guide will explain how to work the basics of float fishing, from setting up a basic rig, to advanced techniques such as shooting patterns and loose feeding. First, let’s begin with how to set up a basic float fishing rig suitable for all still waters.
Tying the Wagler Rig
One of the most diverse and simple rigs for float fishing is a Wagler rig, ideal for the novice and easily adjusted to suit many different fishing conditions. Here’s what you will need to set up a Wagler rig:
Mainline: A four-pound breaking strain line is perfect for most float work.
Wagler Float: The float should be chosen to suit the conditions. A straight Wagler is a good all-round starting point.
Split Shot: A selection of split shots will help balance your float.
Hook Length: A length of line finer than your main line with a breaking strain of three pounds or so.
Hook: A size 14 hook is one of the most versatile when it comes to catching specimen fish in these situations.
Scissors: For trimming and tidying up your rig.
Step 1: Creating the Hook Length
The hook length is a lighter piece of line that’s attached to your hook. By using a hook length, the angler can easily change the hook. And it reduces the possibility of losing your float just in case you snag. First, tie the hook on by using a half-blood knot:
Pass the line through the eye of the hook.
Wind the tag end around the main line about seven times.
Pass the tag end back through the loop created next to the hook.
Wet the line with saliva to prevent friction that could weaken the knot.
Pull the knot tight and neatly trim the excess tag with scissors.
Next, an overhand loop knot is tied at the other end of the hook length. The knot will serve to attach the hook length to your mainline:
Double line back onto itself and fold to make a loop in the doubled material. Pass the tag end through the loop and then back through it again. Moisten the knot and pull tight.
Step 2: Attaching the Float
With your hook length, it’s now time to set up the float. First, thread the float onto your mainline. Attach the hook length to your mainline using another overhand loop knot. If you are new to tying knots, then you may refer to instructional guides and videos that use brightly colored lines, where the process is easier to trace.
To connect the hook length and mainline:
Form a loop at the end of your main line.
Take the hook length loop over the top of the mainline loop.
Take the hook through the mainline loop.
Pull tight to secure the connection.
This gives you a good connection of the heavier mainline to the lighter hook length so that you can quickly change the hook length during your fishing trip.
Step 3: Setting your Split Shot to Lock Your Float
This will ensure that, with split shot weights added to your line, the float will sit correctly in the water. Most floats will indicate the amount of weight needed, but it’s always best to test in a margin or container before fishing.
Take the split shots you are using-e.g., four number 1 shots-and place them on either side of the float. That places the float right and makes it more aerodynamic when it comes to casting.
Pinch the split shots onto the line with your fingers, teeth, or more safely with the handle of your scissors. Spread any remaining allowance of split shot down the line. For natural falls use smaller shots, such as number 4, spaced equally.
Properly shooting your float means it will be sensitive to the lightest of bites but remain visible above water. You should look to have the float sit with just a centimeter or two above the surface.
Types of Wagler Floats
The type of float you use will dramatically affect your catch. Following are the most common types of the Wagler float and when to use them.
Straight Wagler: This is a simple float that is easy to work with, being very visible, hence recommended for novices and general float fishing.
Insert Wagler: It’s a fly with a finer point for detecting light bites. Perfect fly-in still conditions when fishing close to the shore.
Puddle Chucker or Pellet Wagler: These little, buoyant floats are just the thing for presenting bait up in the water, particularly when feeding little and often. Their design means they cannot dive very deep, thereby minimizing the risk of spooking fish near the surface.
On flowing water, another type of float is required, this being called a top and bottom float. Not like the Wagglers, which were attached only at the bottom, top and bottom floats attach at both ends, making them more stable in current.
Top and Bottom Style Floats
The top and bottom floats are better for streams and rivers where you need to hold back the float without it being pulled under. Here are some of the main types:
Stick Float: Best for fishing close to the bank in medium flows, particularly for shy-biting species with small baits.
Avon Float: It has a bulbous body to give it buoyancy and stability in faster, more turbulent waters while carrying more weight to get the bait down quicker.
Loafer or Chubber Float: They are highly visible buoyant floats that are excellent for allowing your float to drift long distances downstream, but are also ideal for use with larger baits such as bread or worms.
Shotting Patterns
The shooting patterns in float fishing are important because they generally determine how your bait will behave in the water. The two major shooting patterns in fishing are strung out and bulked.
Shotting Pattern Strung-Out: The evenly spread shot along your line. It serves well when you need to target fish at different levels, which allows your bait to naturally fall through the water column. This pattern basically works pretty well if you are not sure where the fish are feeding, or you may want to attract fish at different levels.
Bulk Shotting Pattern: The split shots are bunched together near the float in this rig. That way, it makes the bait plunge fast to the bottom, especially when fishing deep or when fish are feeding on the bottom. Bulk shotting reduces much of the time your bait spends going through levels of water filled with small, less desired fish.
Telltale Shot: You can further fine-tune your setup with a telltale shot near the hook. This smaller shot further assists in the detection when a fish lifts the bait off the bottom, allowing it to rise slightly subtle yet important signal that it’s time to strike.
Plumbing the Depth
Accurately plumbing the depth is of paramount importance in float fishing, whereby you make sure your bait is presented exactly where the fish are feeding. This can be achieved through the use of a plummet-a small weight designed for this purpose:
Attach the plummet to your line just below the float.
Set your float a meter away from the plummet or at the estimated depth.
Cast to the location where you want to fish. If the float submerges, your bait is set too shallow; if it lies flat, your bait is set too deep.
Now, adjust the float until it sits right at the tip visible above the water.
This technique will ensure your bait is at the right depth for great chances of catching fish. Be prepared for changes during your session, as fish change their feeding depth according to conditions.
Finding Depth on Rivers
Finding depth on rivers and streams — flowing waters — is a little trickier without a plummet. First, estimate the depth of the water and let your float drift downstream:
If the float drifts downstream unimpeded, it’s set too shallow.
If it drags under, it’s set too deep and the hook or shot is dragging along the bottom.
Continue to move the float up or down until it drifts naturally, doing periodic dips in to let you know it has tagged bottom. Set correctly now, your float now goes under only when a fish takes your bait.
Striking a Bite
The most exciting part of float fishing comes when one detects and strikes a bite. These could be in the form of detection through the float dipping beneath the surface, lifting out, or even sideways movement. If any of these strange movements are observed, that will be a good time to strike by lifting the rod and setting the hook.
Timing is everything when striking. Hit too hard and you risk snapping your line or pulling the hook out, but hit too late and the fish may have already spat the bait. If you feel like you’re missing bites, try readjusting the depth of your rig or play around with your strike timing.
Sinking Your Line
Wind in still waters can drift your float and line if you don’t make compensations for it to keep your presentation accurate. Sinking the line will keep things put where they belong:
Cast slightly beyond your spot:
Once it hits the bottom, drop your rod tip below the surface of the water and quickly reel a few times. This that the float will pull down and allow the line to sink beneath the surface, reducing the impact of the wind. When you’ve retrieved the line back toward your spot, whip the rod tip back above the surface. The action of this whip helps in sinking any line that hasn’t gone under while reeling.
Note that more often than not, you don’t want to sink your line while fishing in a river. You want your line on the surface, trailing behind the float as it drifts downstream. In doing so, the float will naturally drift with the current, presenting your bait most naturally.
Feeding Approaches
Feeding is a very important aspect of float fishing to attract and keep fish within your swim. Generally speaking, the two main ways of feeding are little and often or, alternatively, plenty but less often. The point is, that both will depend mostly on the shooting pattern you will use and the size of fish you will target.
Feeding Little and Often: This is ideal when you have a strung-out shooting pattern with a slow-sinking bait. In this manner, much food from the bait given in small bits frequently attracts plenty of fish to the swim, where they can be encouraged to feed competitively. A small pinch of maggots in a catapult or a handful of corn every 30 seconds to a minute is about right. This method is particularly good at attracting smaller shoaling fish, such as roach or perch, which often lash onto a more frequently fed bait.
Feeding Less, But More Substantially: If you are targeting larger bottom-feeding fish, such as bream or carp, then a bulk shotting pattern is in order. In this case, you need your bait to hit the bottom as quickly as possible without giving smaller fish stationed near the surface any opportunity to nail the bait. Feed in a couple of handfuls of bait every hour or so, giving time for the bigger fish to move in. You can also use ground bait to deliver your bait right to the bottom. Mix some corn, casters, or maggots into your ground and ball it up before hurling it into your swim. You will create a bed of feed that larger fish are going to be drawn to.
Using Groundbait
Groundbait can become a very good tool when float fishing, especially when you are trying to draw the specimens into your swim. It can be mixed with other bait types, like corn, pellets, or maggots, and reach the bottom with quite an amount of feed while bypassing smaller fish near the surface. Start off a session by throwing a few balls of ground into your swim, then just leave it on for some time to allow the fish to gain confidence in it before fishing over. It’s a tactic that can really create a competitive feeding environment among the bigger fish and increase chances.
Conclusion
Float fishing can be a very rewarding and approachable way to engage in both challenges and enjoyment. You will be assured much better success on the water when you master the basics of setting up a Wagler rig, understand your shooting patterns, and how to plumb your depth accurately.
Remember, the secret to float fishing is to observe and then adjust. Note the action of your float, and the reactions of the fishes around, and don’t be afraid to fiddle with your setup if you must. From shoaling fish of tiny size to specimen fish that lie deeper, these methods and tips will form a very good grounding in float fishing skills.
Get on the water, practice these techniques, and enjoy the quiet but exciting float fishing. And remember, if you do have any questions or need further clarification, there is a wealth of information out there with groups of anglers ready to help guide you further on your way.
Related Posts

How to Catch and Release Big Carp Fish
A Step by Step Guide to Cast Fishing More Accurately