
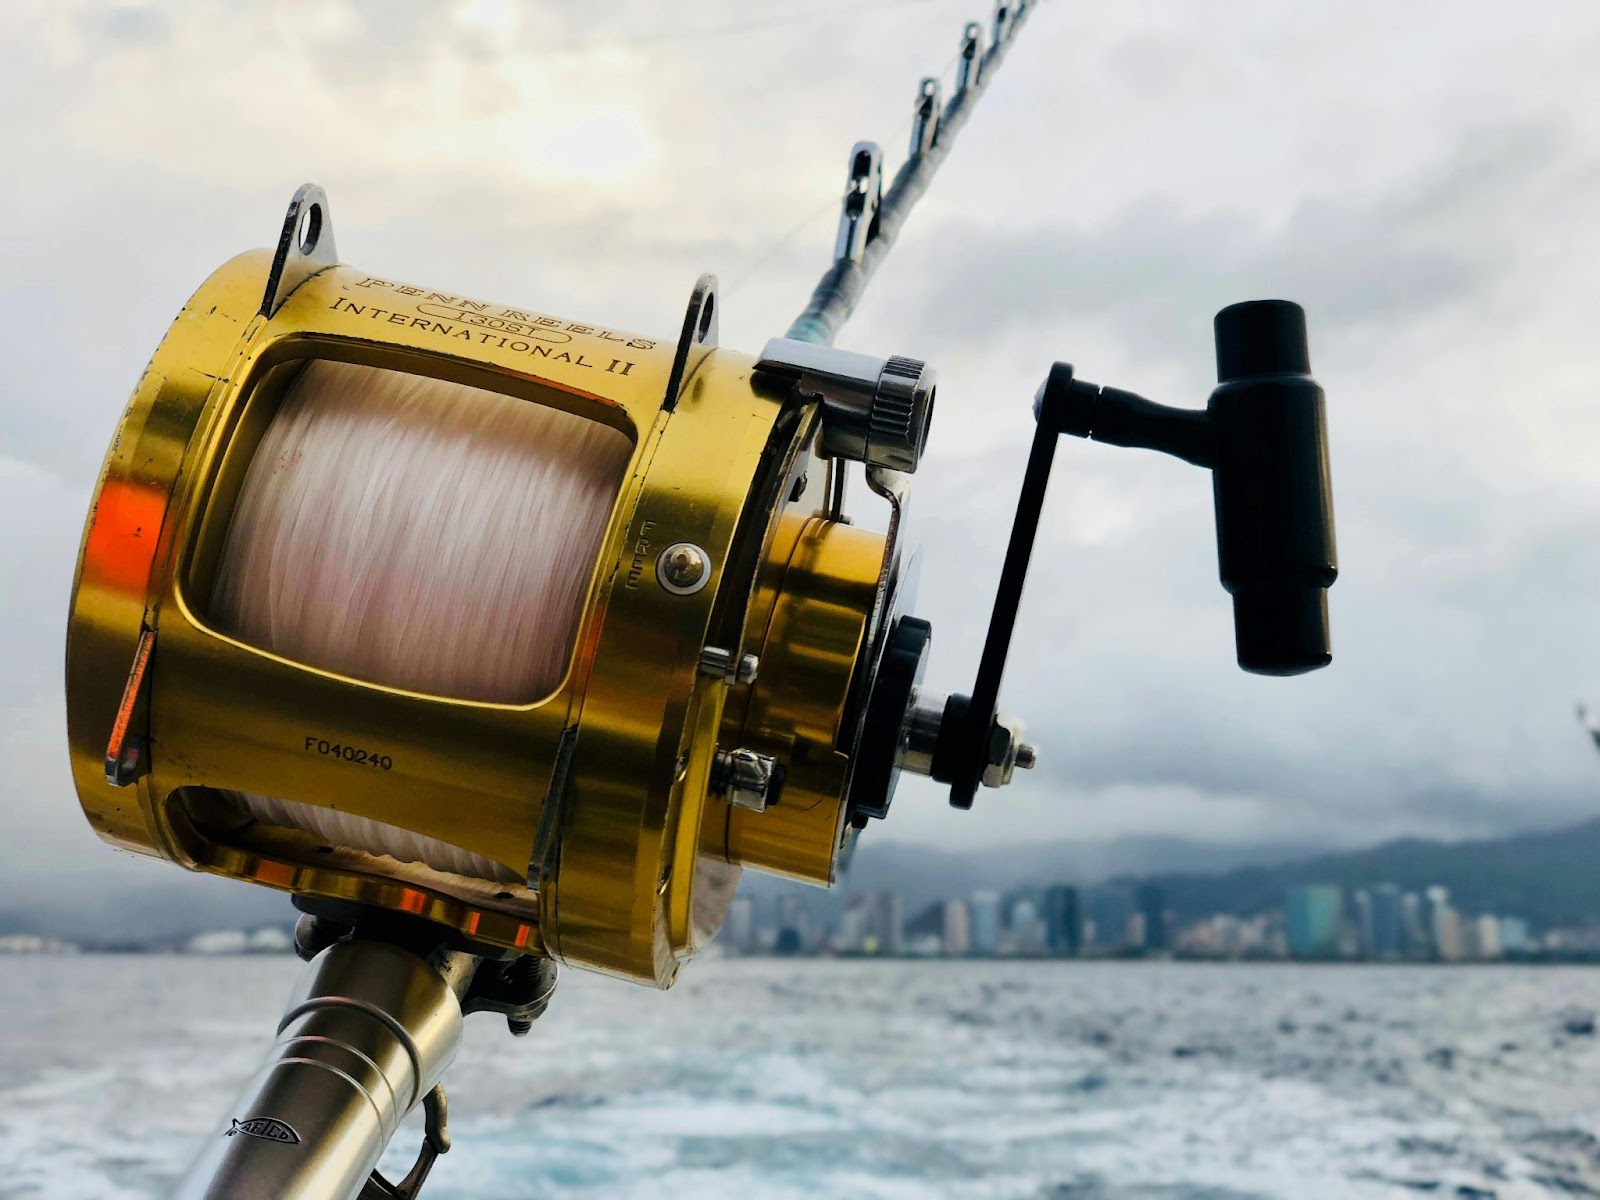
Proper spooling of a reel is important for efficient casting and reeling of fish. This how-to tutorial covers the method of saving a line by incorporating backing into a spool of monofilament line and then fully spooling with braid. Whether you are a novice or an experienced angler, the following guide will help you perfectly spool your reel.
Spooling a Reel with Monofilament Line
The Monofilament line is also among the cheapest and one of the most versatile. Many anglers love it for the amount of stretch in it, adding a degree of shock absorbency when fighting fish. Spooling your reel with a new monofilament line is a rather straightforward process without needing any backing. Here’s how you do it:
Preparing the Spool: Start off by setting the new spool of line into a bucket. This will prevent the line from becoming tangled or spraying off the spool as you reel it onto your reel.
Thread the Line: Using the tag end of the line, thread it back through the first eye of the fishing rod. This way, it will be easier to reel the line onto the new spool.
Tie the Line to the Spool: The line is secured onto the spool with an arbor knot. Wrap your line around the spool and tie an overhand knot around the main line. In the tag end, tie another overhand knot an inch or two from that one. Wet the knots with saliva to prevent friction that will eventually wear out the line.
Set the Knot: Pull the line to secure the knots. Make sure the second-knot beds are next to the first one against the spool. Trim the tag end to tidy things up.
Spool to Reel Attachment: Open up the bail arm and attach the spool to the reel. Close the bail arm and apply some tension to the line using your hand, holding the rod steady.
Reel in the Line: Reel the line onto the spool slowly until full, leaving about two millimeters from the top of the spool, to avoid overfilling the spool, which causes tangles when casting.
Finish Up: Once spooled, secure the line in the clip and cut the line. Now your reel is ready for use with a fresh spool of monofilament line.
Using Backing to Save Line
Sometimes you don’t need a full spool of new line, especially if you are not fishing at great distances. Using a backing efficiently fills half of the spool, saving your new line for when you really need it. Normally, the backing is some inexpensive, thick line to just take up space on the spool before you put it on the main line that you will go fishing with. Here’s how to use a backing to fill your spool :
Two Identical Spools: You will want to put a perfect amount of line on your reel using two identical spools.
Thread and Tie Line: First, take your new line and set it inside a bucket. Now, thread the line in a backward motion through the first eye of your rod, tying it to the first spool using the arbor knot method.
Reel on the Desired Amount: Take the desired quantity onto the spool. In such a case, if not casting far, about 100 yards of line may be enough.
Attach Backing: Cut the line and attach via an Albright knot a length of old or cheap line to use as a backing. To tie an Albright knot, fold the thicker backing line back on itself and pass the thinner main line through the loop. Wrap it around the folded section about five times before passing the end back through the loop the same way it entered. Dampen the knot with saliva, pull it tight, and trim the tag end.
Fill the Spool: Continue reeling the backing onto the spool until it’s almost at its lip. Cut the line and remove the spool, placing it aside.
Transfer Line onto Second Spool: Place the first spool into the bucket. Thread the line through the first eye of the rod, tie the line onto the empty second spool with an arbor knot, and begin to reel in all the lines. Now you have a perfectly spooled reel with the right amount of backing and main line.
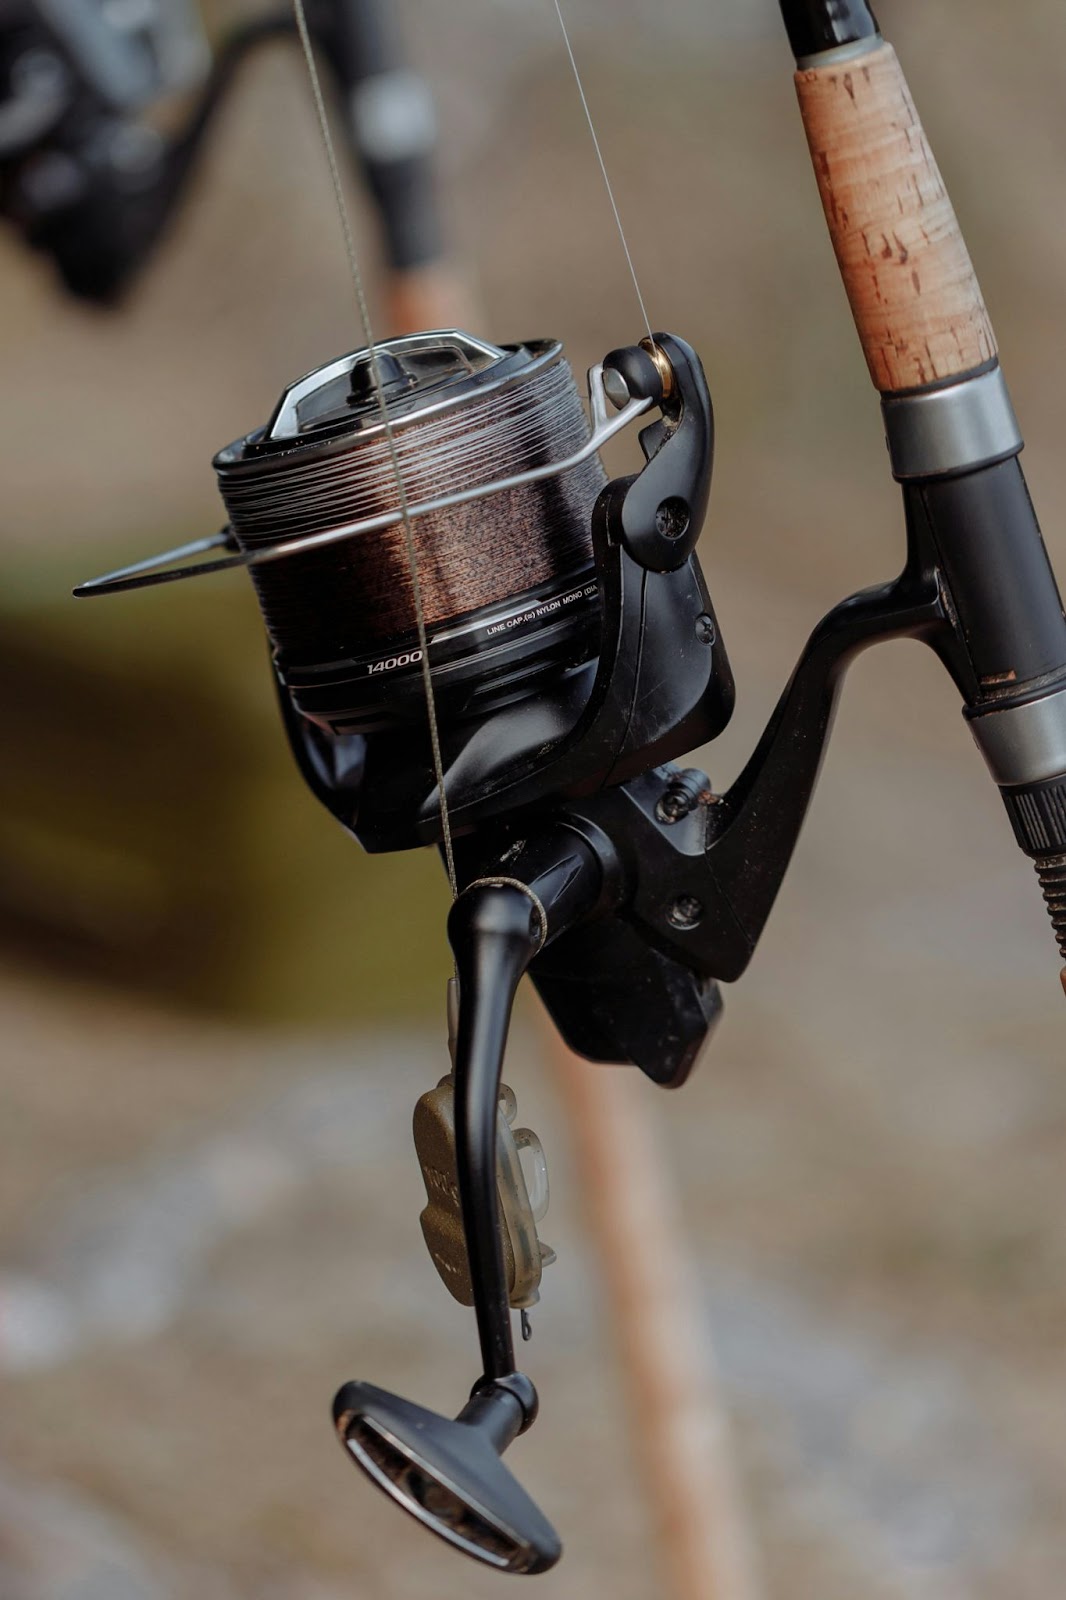
Spooling with Braid
Braid does not contain much stretch and is therefore one of the most popular choices of fishermen for longer distances and in cases where high sensitivity is required. However, it does need a safe base to avoid slippage. Here’s how to spool your reel with braid:
Prepare the Spool with Backing or Tape: Since braids may slip around the spool while under tension, it is a good idea to lay some tape on the spool or attach several meters of monofilament line as a backing prior to spooling your braid.
Attach the braid to the backing with an Albright knot. Repeat the same steps described above: fold the thicker backing line, pass the braided line through its loop, wrap it behind the folded line, and pull it tight after wetting the knot.
Reel the Braid onto the Spool: With the backing in place, go ahead and spool the braid onto the reel until it’s almost full, leaving only a few millimeters from the top.
Choosing the Right Line for Your Fishing Needs
There are more types of lines, and each is suited differently for different aspects of fishing. The numerous options available sometimes confuse what to choose. Here’s a simple guide to help make a decision:
Big Carp Fishing: We are using a 12 to 15-pound monofilament and 15-pound braid. Mono’s a good starting point because the stretch inherent in the line reduces hook pulls when you’re playing fish. And it’s also less susceptible to wind knots than braid. However, with a braid, you have a much better indication of bites and far more control when fishing among snags and at a distance.
General Coarse Fishing: We prefer Guru draglines ranging from four to ten pounds breaking strain. Light lines, such as four pounds, go really well for float fishing. The six pounds work really well for the feeder fishing. Heavier lines of eight and ten pounds then get used when fishing near snags or hard-fighting species such as barbel or large carp.
Lure Fishing: For this, a braid is important because it does not have any stretch, thus helping in the working of lures and detection of bites. We use an eight-strand braid with breaking strains from ten lbs upwards for perch fishing to fifty lbs for pike fishing. This eight-strand braid is thinner and will cut through the air nicely when casting and again in deeper water because there would be less resistance.
Final Tips for Spooling Success
Whichever line you use, it pays to make a few short casts with your newly spooled reel before trying a long one. This embeds the line nicely and avoids slack, which can cause the nightmare of wind knots on your first big cast.
Proper spooling of your reel is the secret to smooth fishing. Besides tangles, line wastage, and slippage, following these steps will prepare you for a great catch come your next fishing trip.
Related Posts

How to Catch and Release Big Carp Fish
A Step by Step Guide to Cast Fishing More Accurately